show sensors CLI command.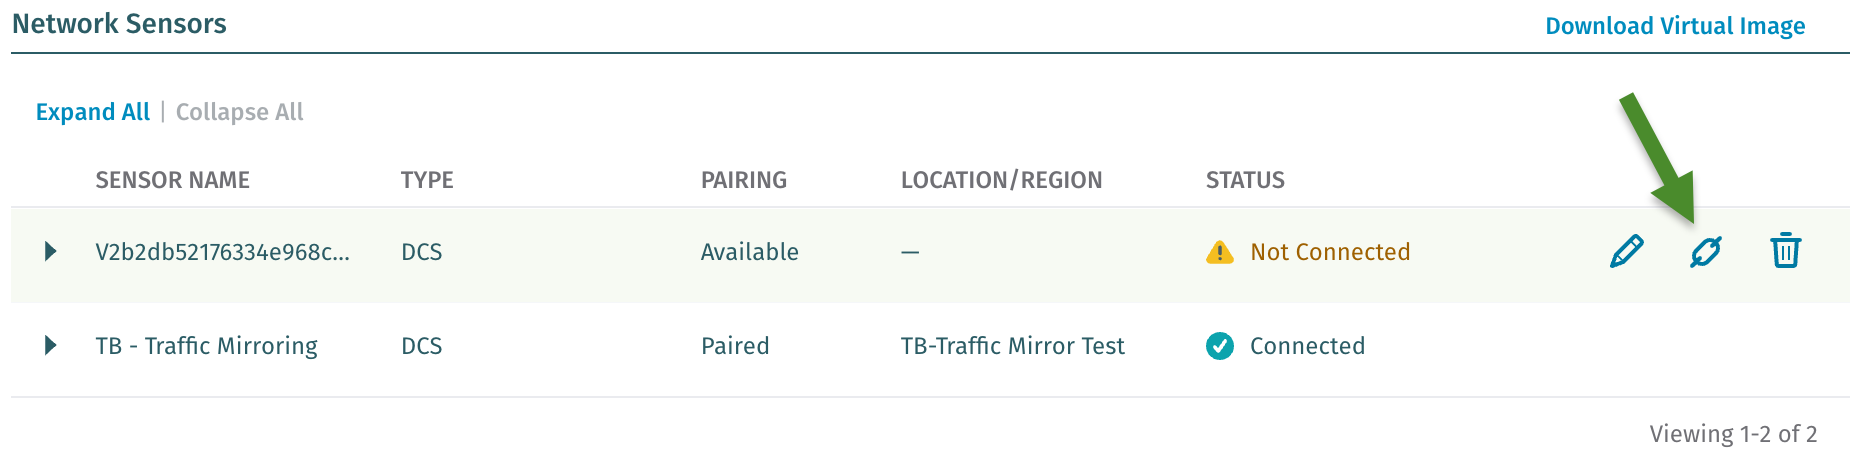

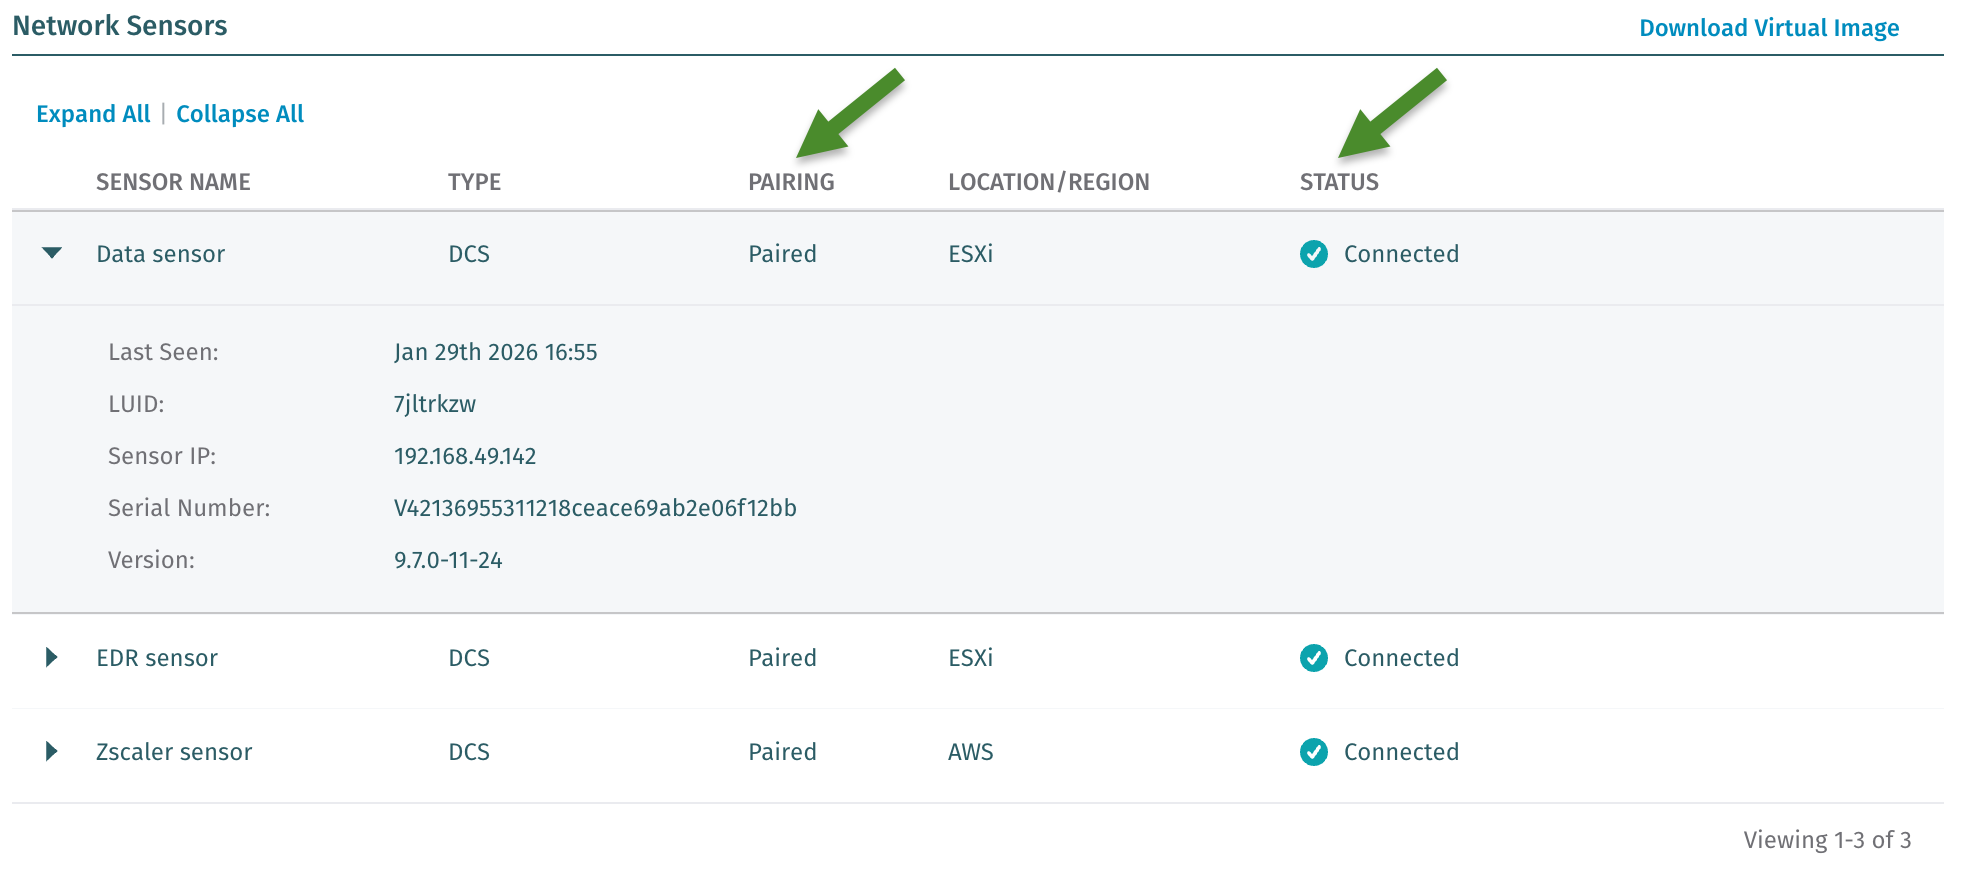
Screenshot is from a vSensor. The TYPE would show the model number for physical appliances.

 on the right of the vSensor and editing the details.
### Pairing to New or Changed Brains
#### Pairing to Brain With Changed Location
If the Brain location must be changed there are two processes that can be used to associated existing Sensors with a new Brain:
**Preferred Method:**
* Change the Brain IP address or hostname.
* Redirect all Sensors to the new Brain location using the `set brain` command at the CLI of the Sensor.
* Previously paired Sensors can simply be redirected because the Brain already has the required registration information for these Sensors.
* This is also the same for new or different Brains restored from Backups.
* Unpaired Sensors can use the Sensor Registration Token if needed.
* For example: The new Brain isn’t restored from backup, is air-gapped, etc
**Alternate Method:**
You can also unpair all Sensors, change the Brain location (hostname or IP address), and then pair all Sensors again. This could cause some buffered data on the Sensors to be lost.
#### Pairing to a Different Brain
* If you have a Brain that will not be restored from backup that you wish to pair an existing Sensor to, this is possible via the use of a Sensor Registration Token.
* Retrieve or generate a current [Sensor Registration Token](#sensor-registration-token-srt).
* Perform the `set registration-token
on the right of the vSensor and editing the details.
### Pairing to New or Changed Brains
#### Pairing to Brain With Changed Location
If the Brain location must be changed there are two processes that can be used to associated existing Sensors with a new Brain:
**Preferred Method:**
* Change the Brain IP address or hostname.
* Redirect all Sensors to the new Brain location using the `set brain` command at the CLI of the Sensor.
* Previously paired Sensors can simply be redirected because the Brain already has the required registration information for these Sensors.
* This is also the same for new or different Brains restored from Backups.
* Unpaired Sensors can use the Sensor Registration Token if needed.
* For example: The new Brain isn’t restored from backup, is air-gapped, etc
**Alternate Method:**
You can also unpair all Sensors, change the Brain location (hostname or IP address), and then pair all Sensors again. This could cause some buffered data on the Sensors to be lost.
#### Pairing to a Different Brain
* If you have a Brain that will not be restored from backup that you wish to pair an existing Sensor to, this is possible via the use of a Sensor Registration Token.
* Retrieve or generate a current [Sensor Registration Token](#sensor-registration-token-srt).
* Perform the `set registration-token 